How to shave your chest
Tips for chest shaving
Shaving your chest hair
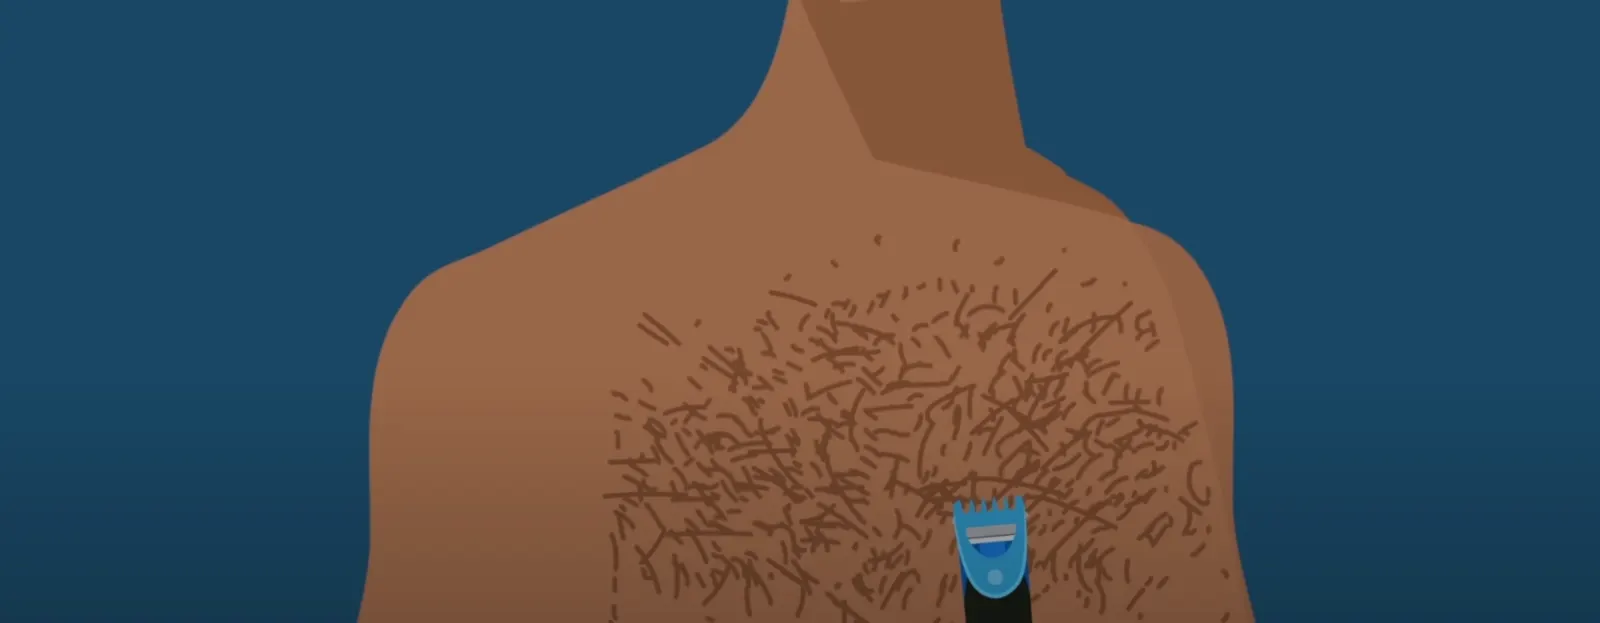
STEP 1: Select a fixed comb length
The right comb length on your body hair trimmer can help you tame full, natural growth that hasn’t been touched by a razor for a while – or ever. The All Purpose Gillette STYLER comes with three comb attachments (2mm, 4mm, 6mm) for you to choose from.
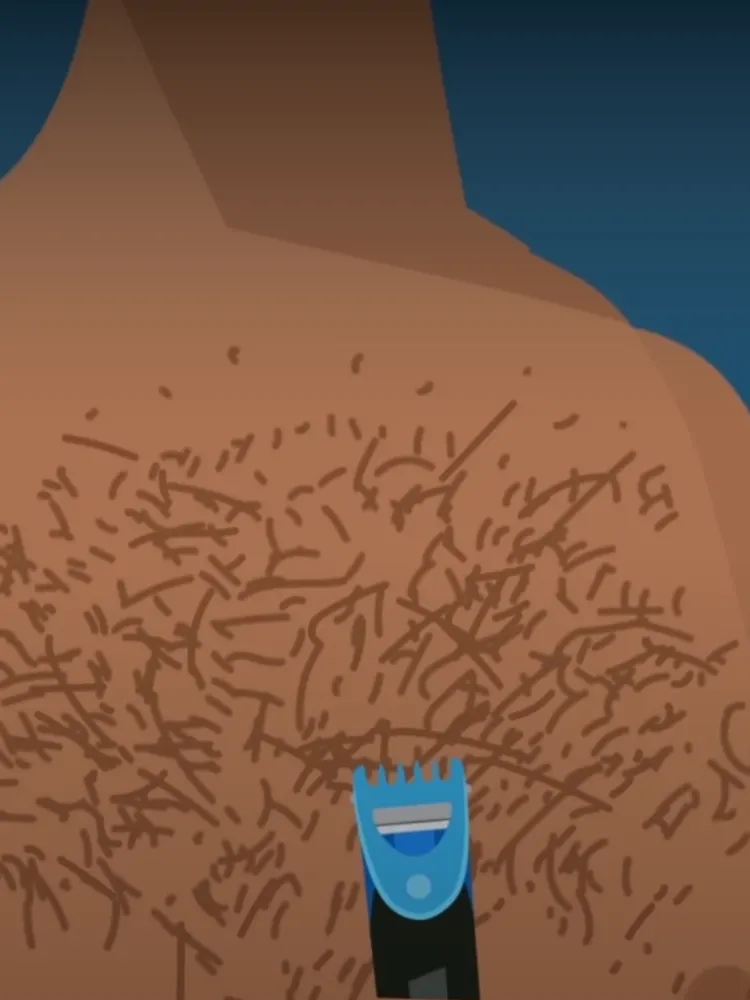
STEP 2: Trim
Trim your chest hair. Trimming the hair before shaving can help prevent clogged blades.
STEP 3: Shower
The water will help soften your chest hair (which can be wiry) and make it easier for the razor to glide over your skin. Gillette STYLER is waterproof so you can trim in the shower.
STEP 4: Lather up with shave gel
A good lather helps to hydrate hairs, enhance razor glide, andand protect your skin while you shave your chest.
STEP 5: Check for dull blades
Blade feeling dull or lubrication strips looking faded? It may be time for you to swap your blade attachment before you begin.
STEP 6: Shave with light, gentle strokes
Attach a Fusion5 blade to your STYLER. Start from the outside of your chest and work your way in. Stretch your pecs as you shave to create an even shaving surface.
STEP 7: Rinse your blades often
Run the blades gently under the tap every few strokes, both the back and front sides of the blades, and then gently shake excess water off. Do not tap your razor against the sink or wipe against a towel; these habits can reduce the life of the razor by affecting the intricate design of the blade components. Rinsing the blades under running water helps to remove built-up shaving gel, hair, and dead skin.
STEP 8: Be careful around your nipples
Go around – not directly over. You can use the fingertips of your other hand to cover your nipples as you shave near them, just in case.
STEP 9: Re-apply shave gel as needed
You may find that you need to shave over the same spot in different directions to get a smooth shave. In order to help prevent shaving rash on your chest, ensure that you reapply shave gel before you re-stroke.
STEP 10: Rinse, dry, and moisturise
Moisturising after shaving your chest is critical – it helps soothe the skin.
Congrats! You have just mastered body grooming 101!
With Gillette razors and trimmers, your personal grooming possibilities are endless.
Was this article helpful?


